|
|
|
Construction Journal | | 10/20/02
-
Cutting the Taper | 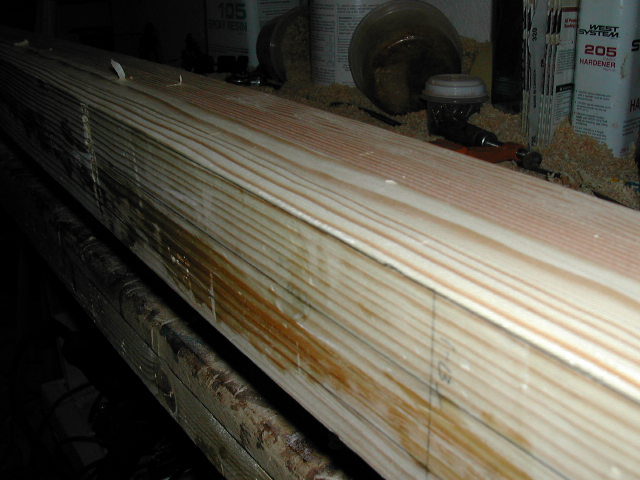
My power planer has been a bit of a mixed bag for me. On the one hand, it just cuts the hell out of anything in it's way, and it removes lots of wood in short order. But it's so damned difficult to control and it's really really easy to tear away way too much material, but I had so much wood to remove here that I really had no other choice. So out it came, and what do you know, it's as if this tool were made to do this kind of work. Not once did I plane away too much wood, and it really made short work of the process of establishing the taper.
| | 10/20/02
-
Marking the Shape | 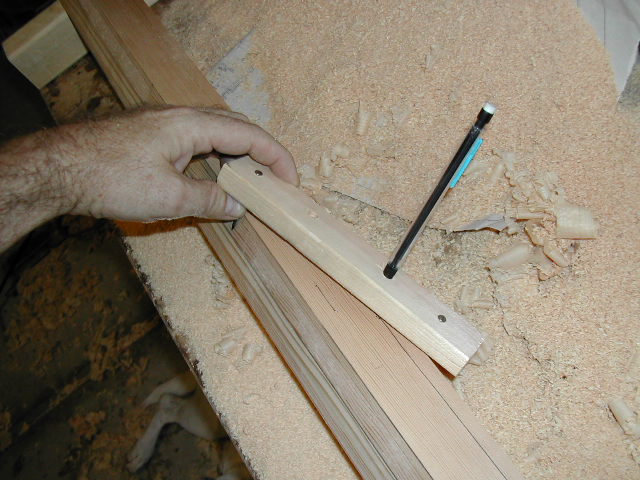
Now that I have a taper, it's time to mark off the corners that, when cut away, will leave an octagonal shaped pole. This is done with a spar-maker's guage, which I had fits getting precise enough so that both pencils draw identical lines, so I decided to use only one pencil and draw each side separately. This may result in incorrect lines, but what the hell, they look pretty. Here's another exciting action shot. Anybody who knows me will realize immediately how fake this picture is, because I'm right handed. Damn, my arms are hairy. I should probably think about shaving them and tell everyone I'm a professional swimmer.
So how does the guage work? The holes in the guage are marked off in units of 7, 10 and 7 (it doesn't really matter what units are used) and holes are drilled in the points. For my guage, I used 1/8's of inches. I first marked a line of 24 units to find the end points for the guide nails. I then measured 7 units in toward the center point of the line for each pencil hole. When you place the resulting contraption, complete with pencils in the holes such that the nails touch each side of the spar, the pencils will describe lines that, when the wood is removed from the corner to each face's line, an octagon will result. Okay, right. | | 10/20/02
-
The Corners, Marked | 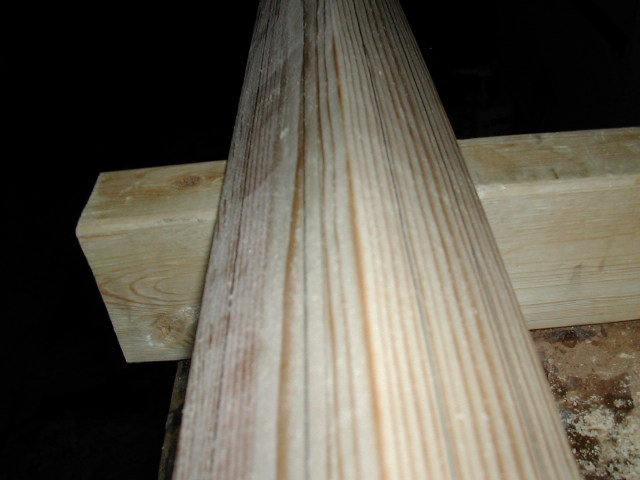
This is a better picture of what I was blabbering about in the previous section. You can see the depth of the cut to make to get an octagon. What is important is not the exact line, but that, at the end, each face is the same width from one end of the spar to the other. If you have to fudge a little, well, that's life, isn't it?
| | 10/20/02
-
Cut, Cut, Cut |  So here we go, removing the corners. Again the power plane made this job much shorter than with the previous spars, when I didn't trust my ability to control the power plane, so I used the block plane. This went very smoothly. Once I got really close, out came the block plane to smooth it to the line. I had to sharpen the plane several times during the course of the process, otherwise the plane would begin to gouge, and I didn't want a gougy looking mast.
| |
|
 Winner
of the coveted Walsh Award!
Winner
of the coveted Walsh Award!