|
|
|
Construction Journal | | 2/10/02
-
The Skeg | 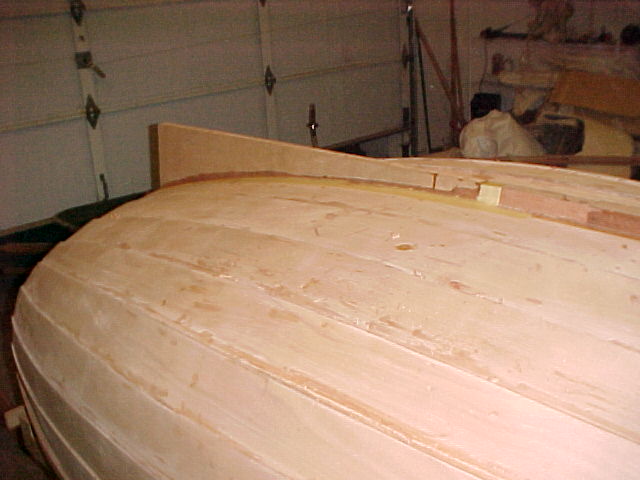
I decided to delay shaping the keel until I had the skeg done, which gave me a great excuse to put off the nasty, scary job of chiseling away on that expensive mahogany. Compared to the keel, the skeg was dead easy. First, I picked out a likely victim -er, plank and set it edgewise on top of the keel with a spirit level showing it to be dead-level. I then used a small bit of wood with a pencil attached to scribe (or spile) the shape of the after portion of the boat onto the plank. I cut out the skeg, shaped it and slapped it on with epoxy. I didn't use any clamps because a) the skeg will also be screwed with six 6" screws from the inside and 2) at this point I trust epoxy completely and c) I don't have any clamping system available to me that would work.
| | 2/11/02
-
Shaping the Keel | 
There's no two ways about it, I went about this part of the job the WRONG way. It's not that I'm not satisfied with the way it turned out, because I pretty much am. It's just that shaping up the wood after it's glued to the boat calls for a great deal of finesse with the chisel, not to mention a very, very sharp chisel to get the job done. I spent about half the time sharpening tools and the other have whacking away at the wood, but in the end the edges flow smoothly. You can see here the gap between the skeg and the keel filled nicely by great reams of epoxy. Great stuff, that epoxy.
| | 2/11/02
-
The Bilge Runners | 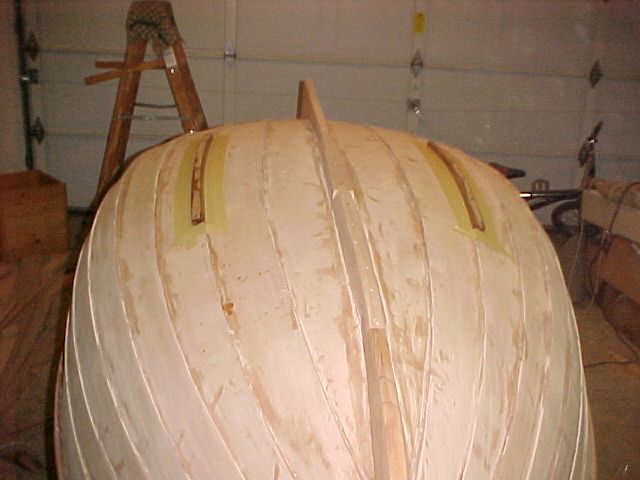
Again, another easy bit, the bilge runners. Not much to say about this, except that the plans called for a 3/4 x 3/4 square length of hardwood, and there was no way I was going to get a piece of wood that thick to bend, so I went with a 3/4 x 1/2 inch piece, and it looks okay. I also spent a lot of time sanding sanding, sanding in preparation for varnishing and painting the hull, because, brother, this is IT for the outer hull. YAY!
Uh, except for filling the screw holes in the keel and bilge runners. Damn.
| | 2/11/02
-
Prep for Varnishing | 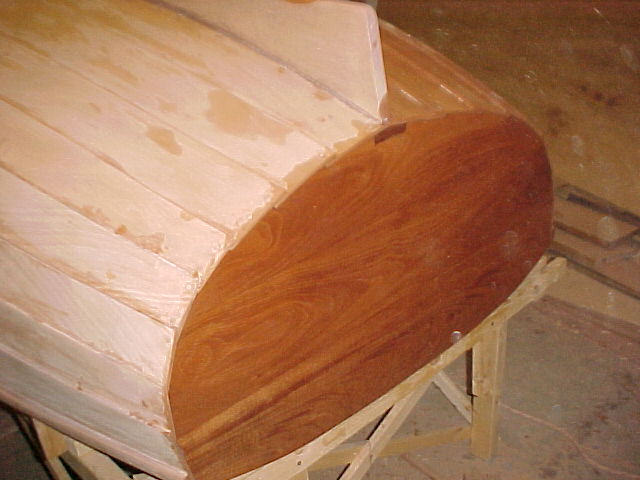
Sand sand sand sand sand sand sand (change grits) sand sand sand sand sand sand sand (change grits) sand sand sand sand sand sand sand (ow my arm) sand sand sand sand sand sand (change hands) sand sand sand sand sand sand sand sand sand .
| |
|

 Winner
of the coveted Walsh Award!
Winner
of the coveted Walsh Award!